Deploy ScalarDB Cluster Through Google Marketplace
This document explains how to deploy ScalarDB Cluster in your Google Cloud environment through Google Marketplace.
Prerequisites
- You must create a Google Cloud project to deploy ScalarDB Cluster.
- You must prepare the backend databases that you want to use under ScalarDB Cluster.
Deploy ScalarDB Cluster
-
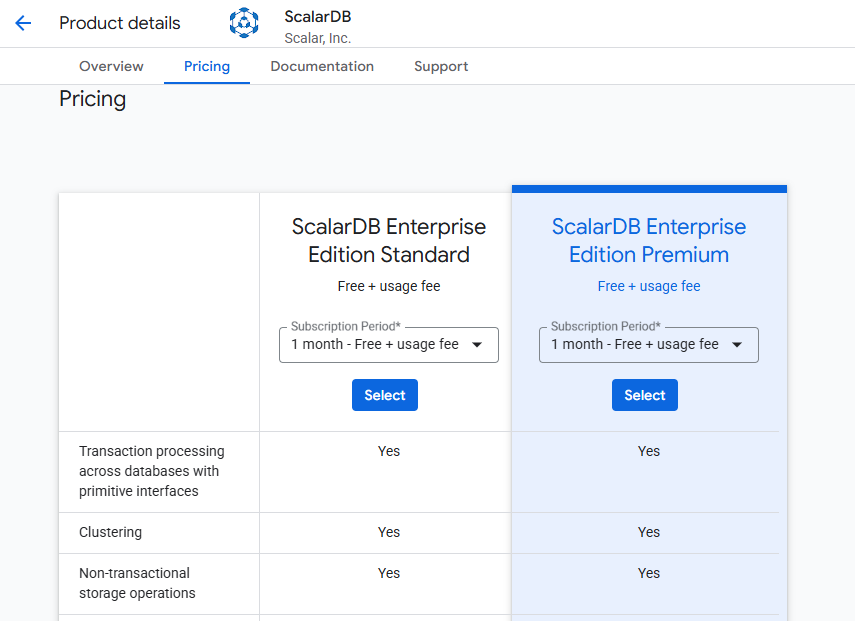
Decide which edition of ScalarDB Cluster you want to use, based on the features of each edition.
-
Go to the ScalarDB page on Google Marketplace.
-
Subscribe to ScalarDB Enterprise Edition Standard or ScalarDB Enterprise Edition Premium.
-
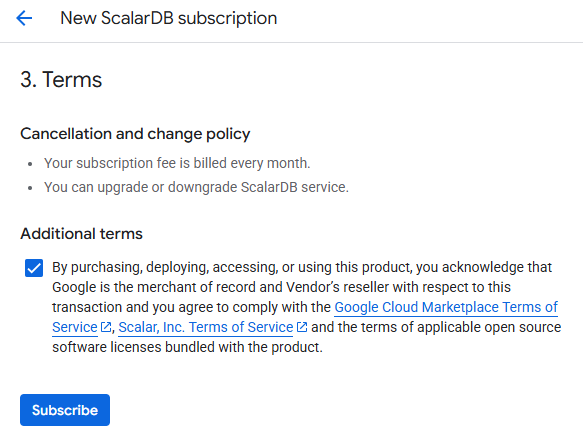
On the New ScalarDB subscription page, read the content under Additional terms and select the checkbox. Then, select the Subscribe button.
-
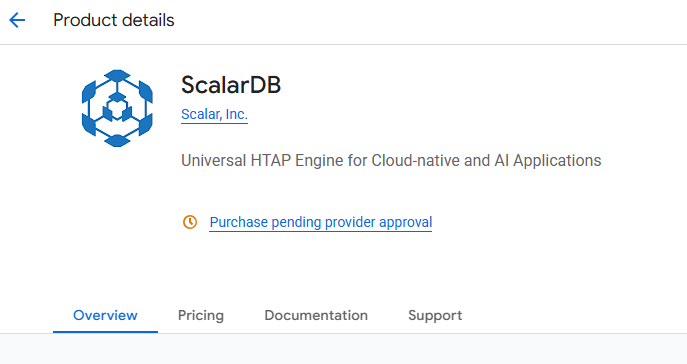
When the Your order request has been sent to Scalar, Inc. pop-up window is displayed, select the Go to product page button.
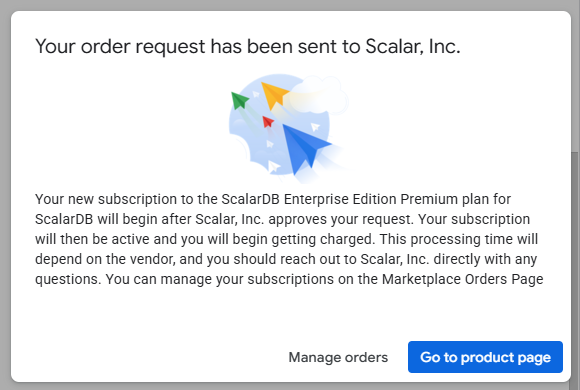
The Purchase pending provider approval message will be displayed at the top of the product page. Please wait for the team at Scalar to approve your request.
-
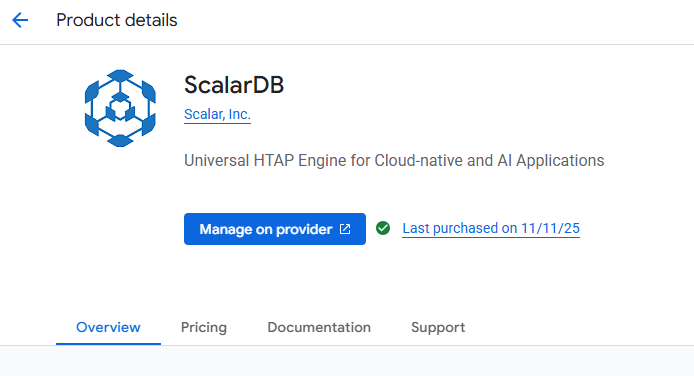
After your request has been approved, the Manage on provider button will be displayed at the top of the product page. Select the Manage on provider button.
-
When the pop-up window asking you to confirm leaving Google Marketplace is displayed, select the OK button.
-
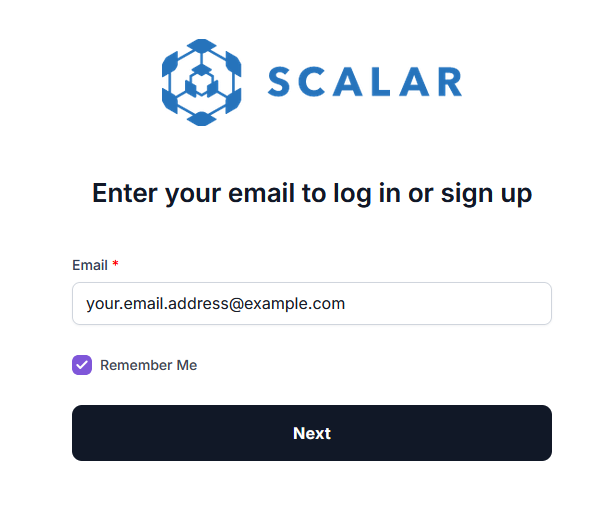
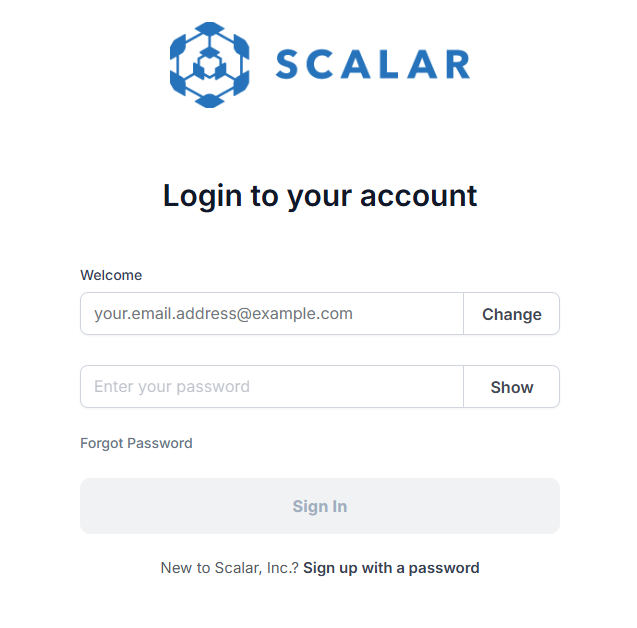
When the Scalar portal login page is displayed, enter your email address and select the Next button.
-
Select the Sign up with a password button.
-
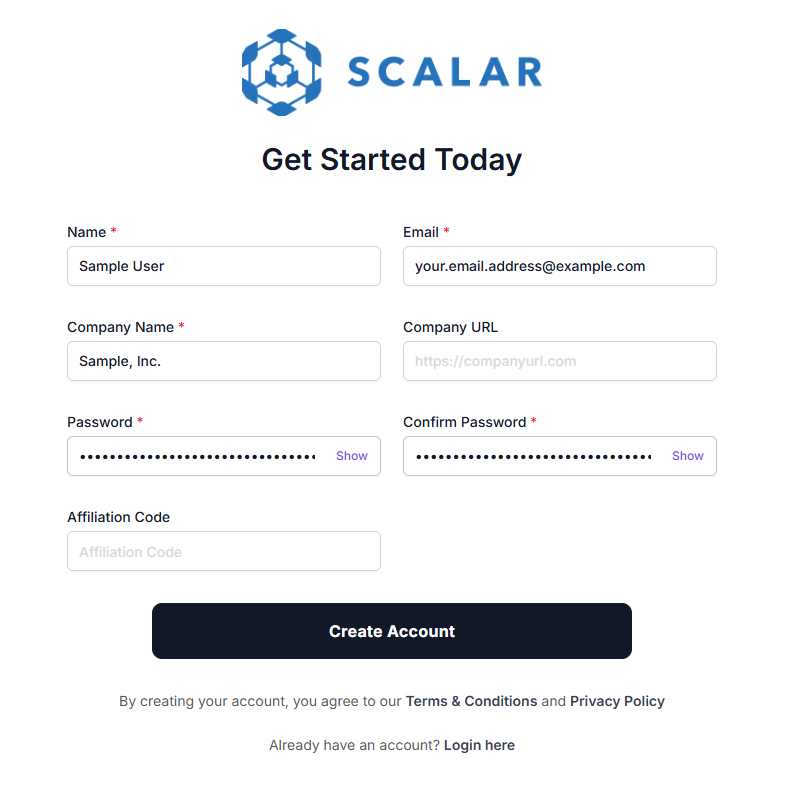
On the Get Started Today page, enter your account information.
-
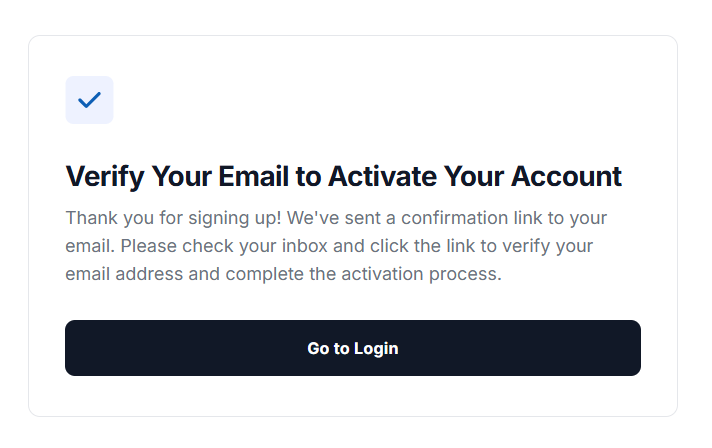
When the Verify Your Email to Activate Your Account page is displayed, check your email and select the link in the message that you received to activate your account.
-
After you verify your account, you will see the login page again. Please log in to the Scalar portal.
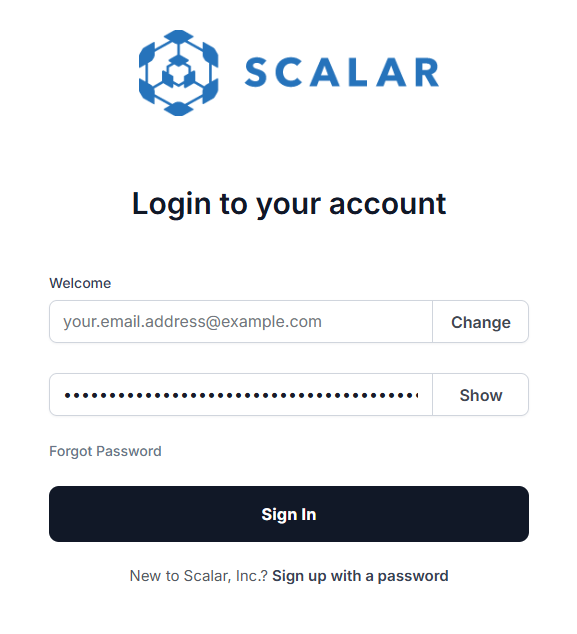
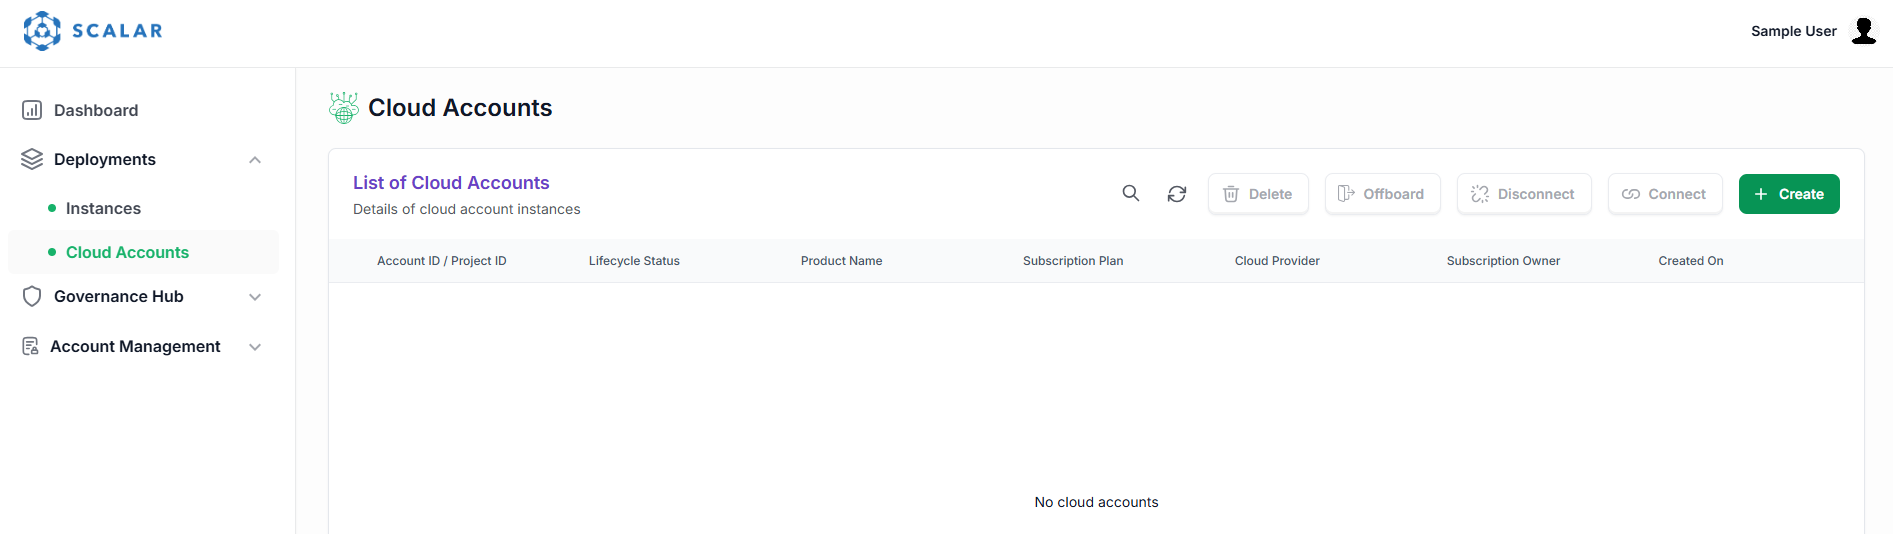
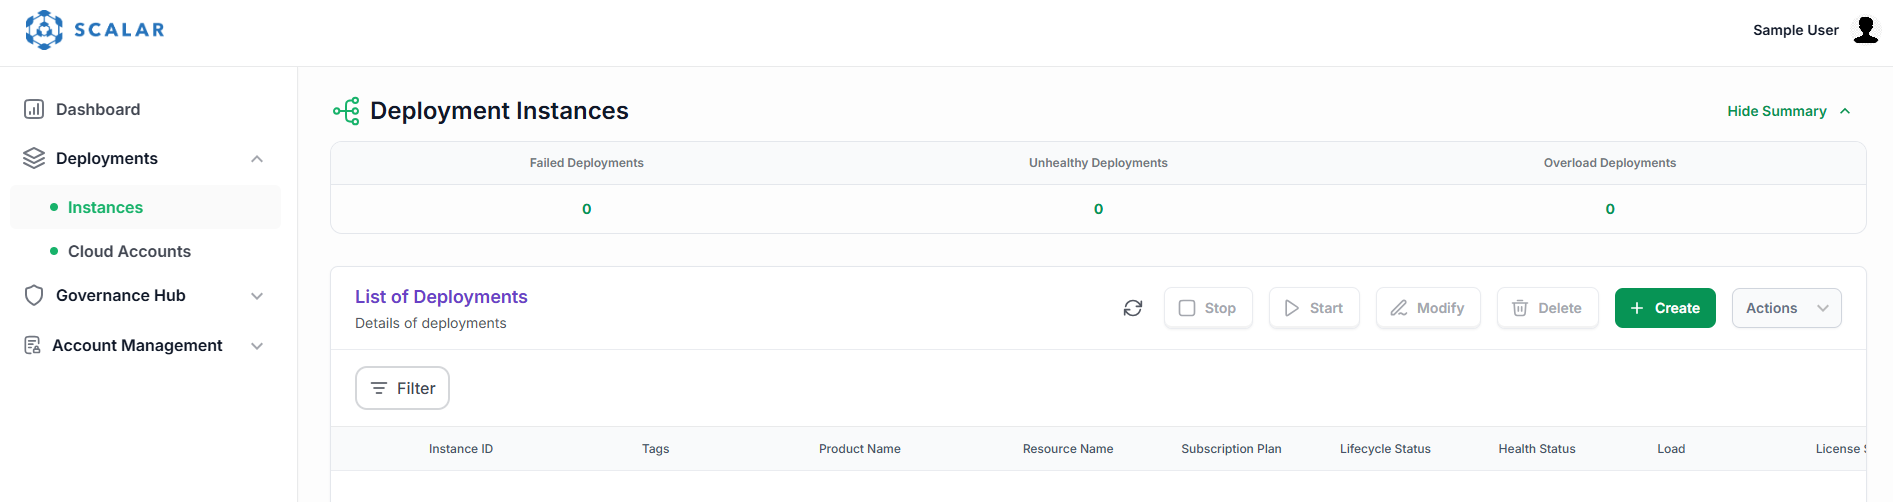
After you log in, the Deployment Instances page will be displayed.

-
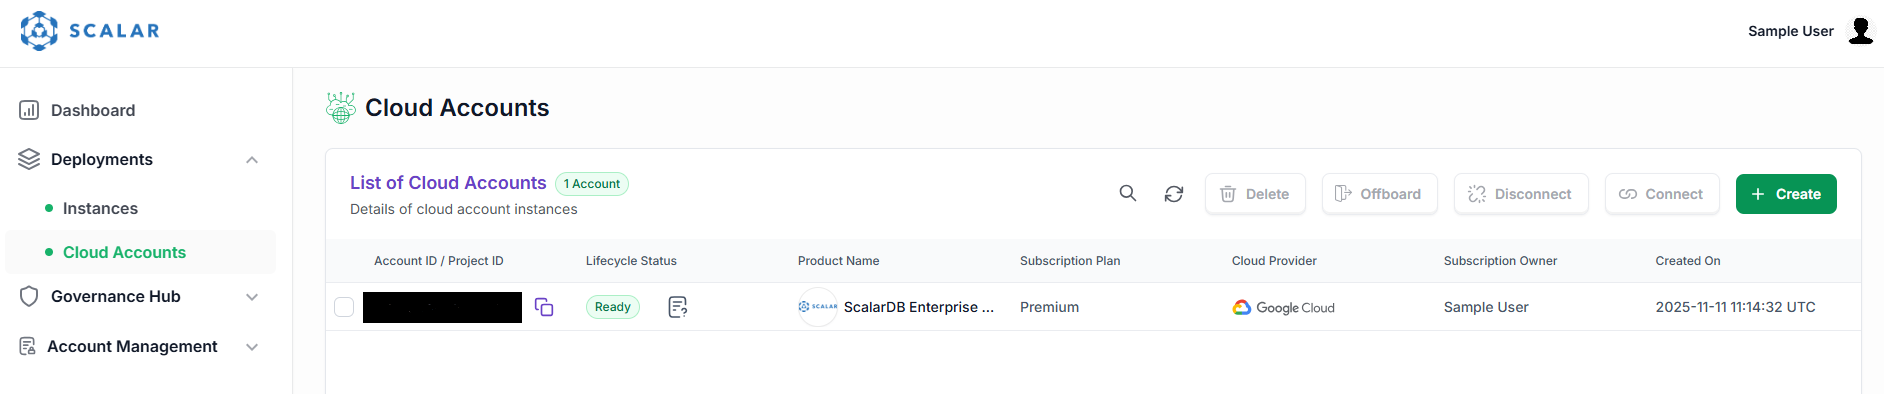
In the sidebar navigation, select Cloud Accounts. Then, select the Create button on the Cloud Accounts screen.
-
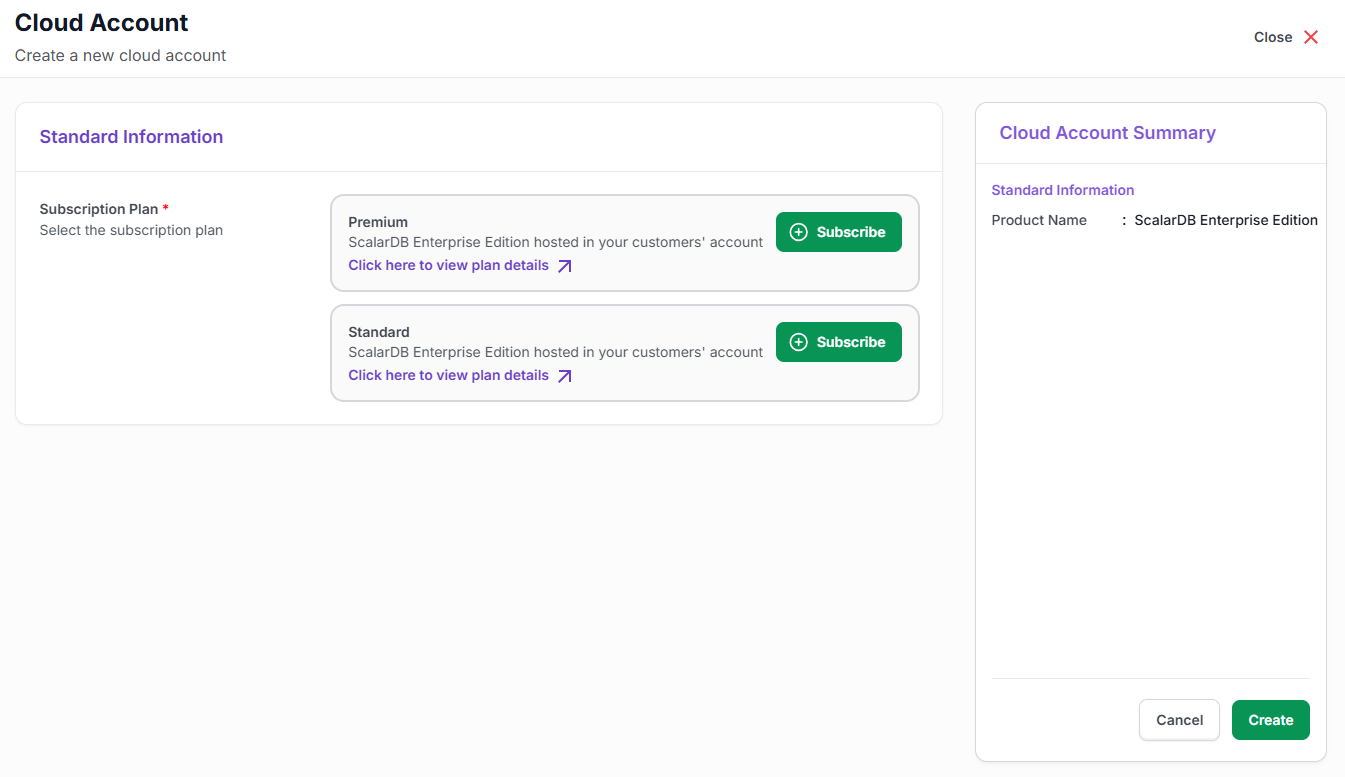
On the Cloud Accounts page, select the Subscribe button.
importantPlease make sure that you select the same edition that you selected on the Google Marketplace page.
-
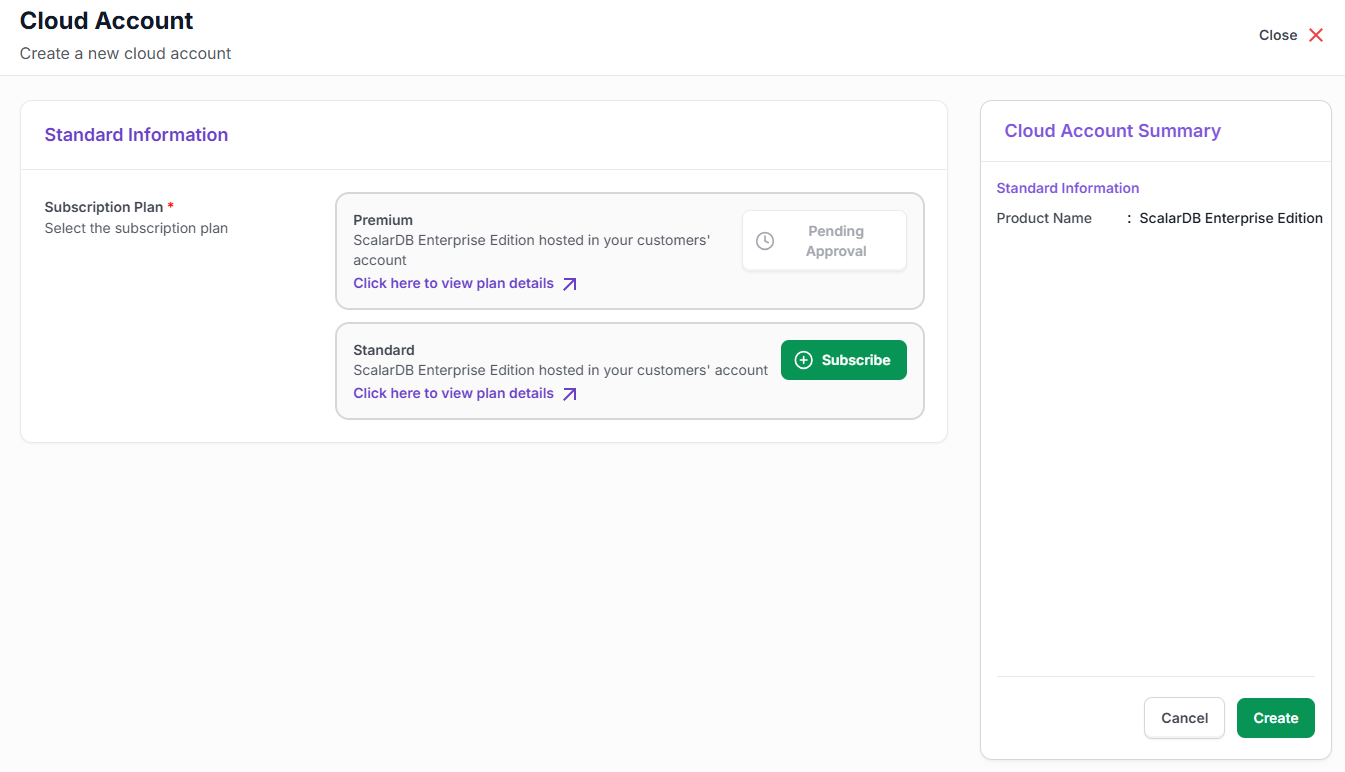
After you select the Subscribe button, the button will show the message Pending Approval. Please wait for the team at Scalar to approve your request.
After your request has been approved, you will get an email with the title Your ScalarDB Enterprise Edition - [EDITION_NAME] subscription request approved from the following email address: marketplace-notifications@scalar-labs.com. Also, after your request has been approved, the Subscribe button on the Cloud Accounts page of the Scalar portal will be grayed out.

-
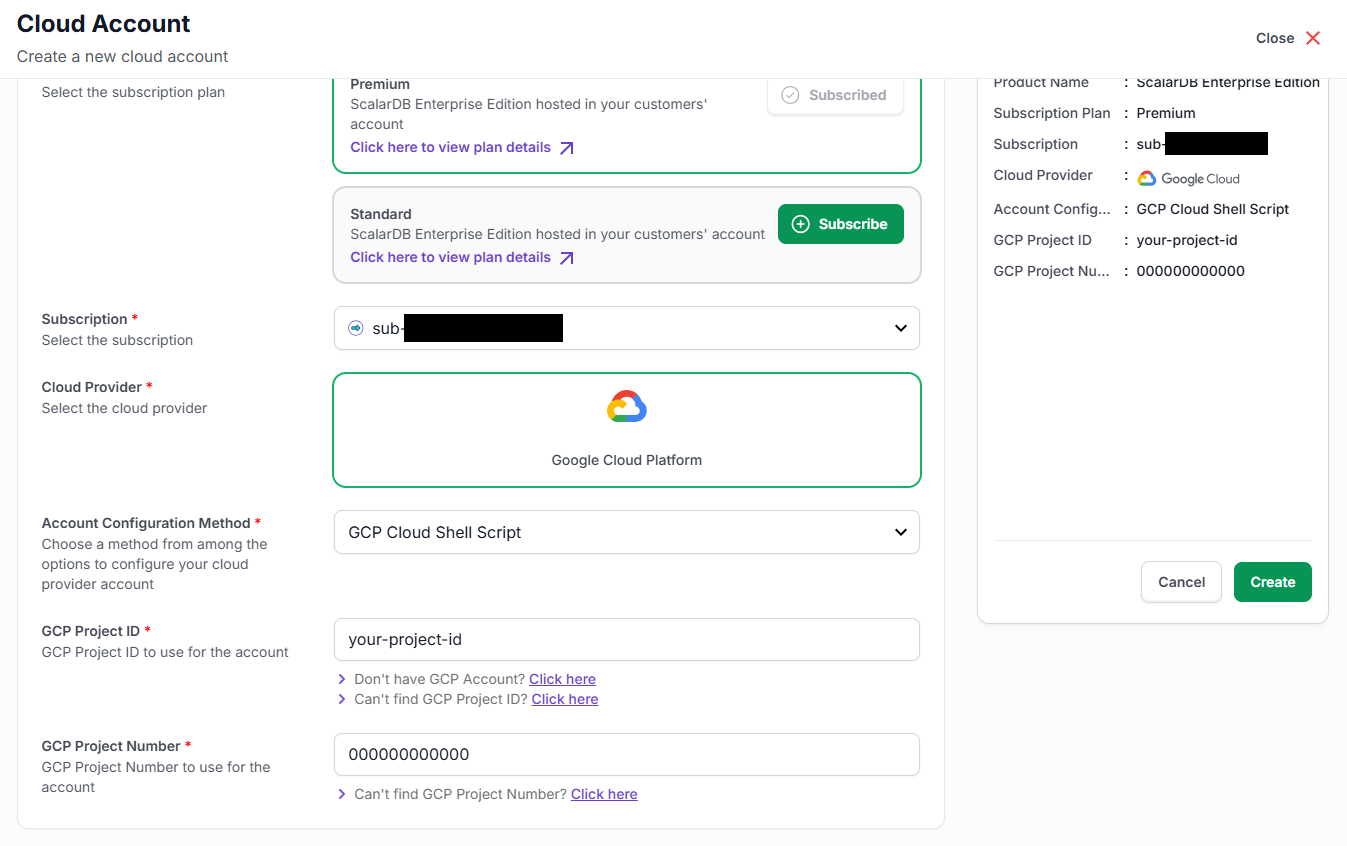
On the Cloud Accounts page, enter the Project ID and Project number of your Google Cloud project that you want to use for the ScalarDB Cluster deployment. You can use the default values for the other configurations like Subscription, Cloud Provider, and Account Configuration Method. After you enter the Project ID and Project number, select the Create button.
-
When the Account Configuration Instructions pop-up window is displayed, copy the bash command and select the link Google Cloud Shell to open the Google Cloud Shell.
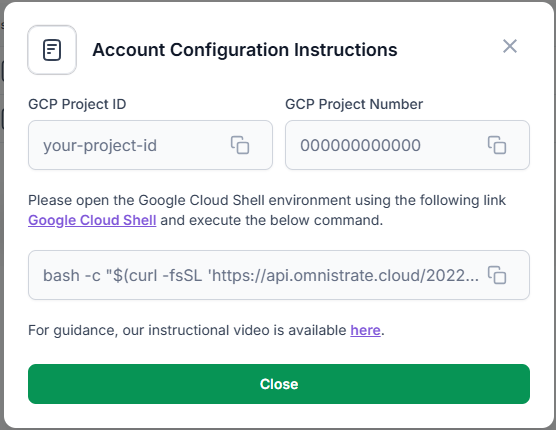
-
In the Google Cloud Shell, paste the bash command that you copied in the Account Configuration Instructions pop-up window and execute the command. You will be asked Do you want to proceed?, like in the example output below. Enter yes.
=============================================
      Google Cloud Setup Script
=============================================
This script will configure your GCP project.
✔ Enable required GCP APIs
✔ Create & configure service accounts
✔ Assign IAM roles
✔ Setup Workload Identity Pool and OIDC Provider
-----------------------------------------------
Do you want to proceed? (yes/no):
If the bash command is successful, a message like the following will be displayed.
YYYY-MM-DD HH:MM:SS - [INFO] - Script completed successfully. -
On the Cloud Accounts page in the Scalar portal, the status will be Ready.
-
In the sidebar navigation, select Instances. Then, select the Create button on the Deployment Instances screen.
-
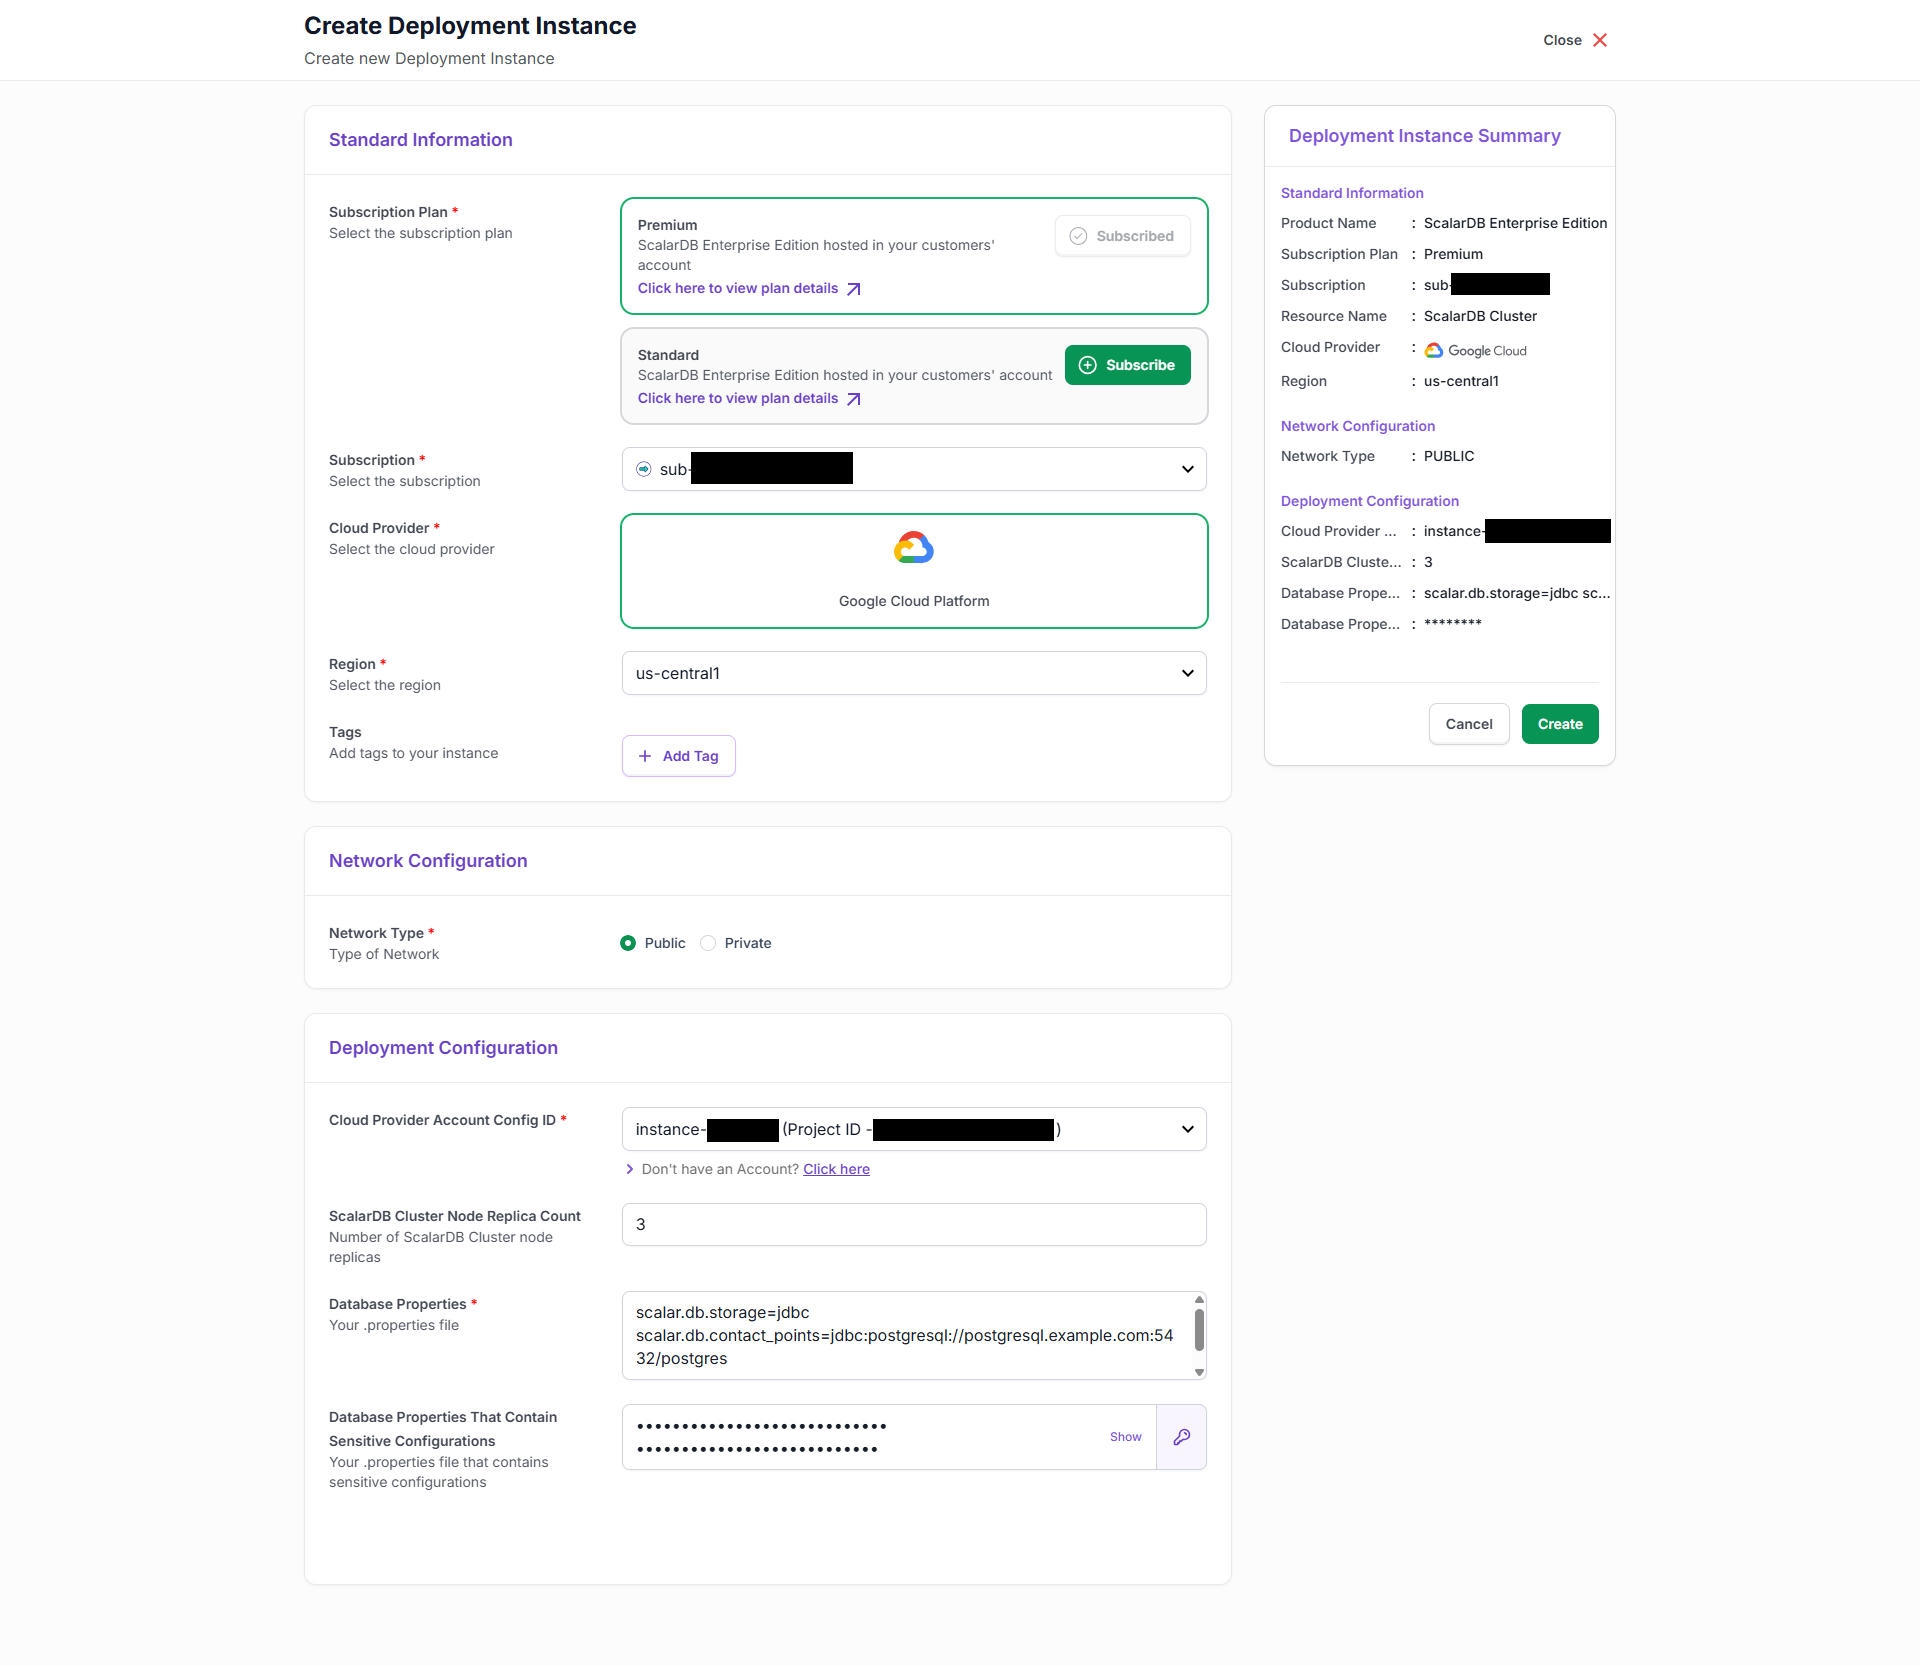
On the Create Deployment Instance page, enter the configurations as follows:
-
Subscription Plan: Select the edition that you subscribed to.
-
Subscription: Use the default value. (You don't need to update this value.)
-
Cloud Provider: Use the default value. (You don't need to update this value.)
-
Region: Select the region that you want to deploy ScalarDB Cluster in.
-
Tags: Set any arbitrary tags.
-
Network Type: Select Public.
-
Cloud Provider Account Config ID: Select your cloud account that you previously registered on the Cloud Accounts page.
-
ScalarDB Cluster Node Replica Count: Enter the number of ScalarDB Cluster node replicas.
-
Database Properties: Enter the ScalarDB Cluster properties. For details, please see ScalarDB Cluster Configurations.
-
Database Properties (Sensitive Information): Enter the ScalarDB Cluster properties, like
scalar.db.usernameandscalar.db.password. These values are invisible in the Scalar portal after you deploy ScalarDB Cluster.noteIn this text box, you can enter (copy and paste) the properties in the same format as normal database properties. For example:
scalar.db.username=<USERNAME>
scalar.db.password=<PASSWORD>
These values are automatically masked when you enter them into this text box.
Example:
-
-
After you enter the configurations for your deployment, select the Create button. The Launching Your Instance pop-up window will be displayed.

-
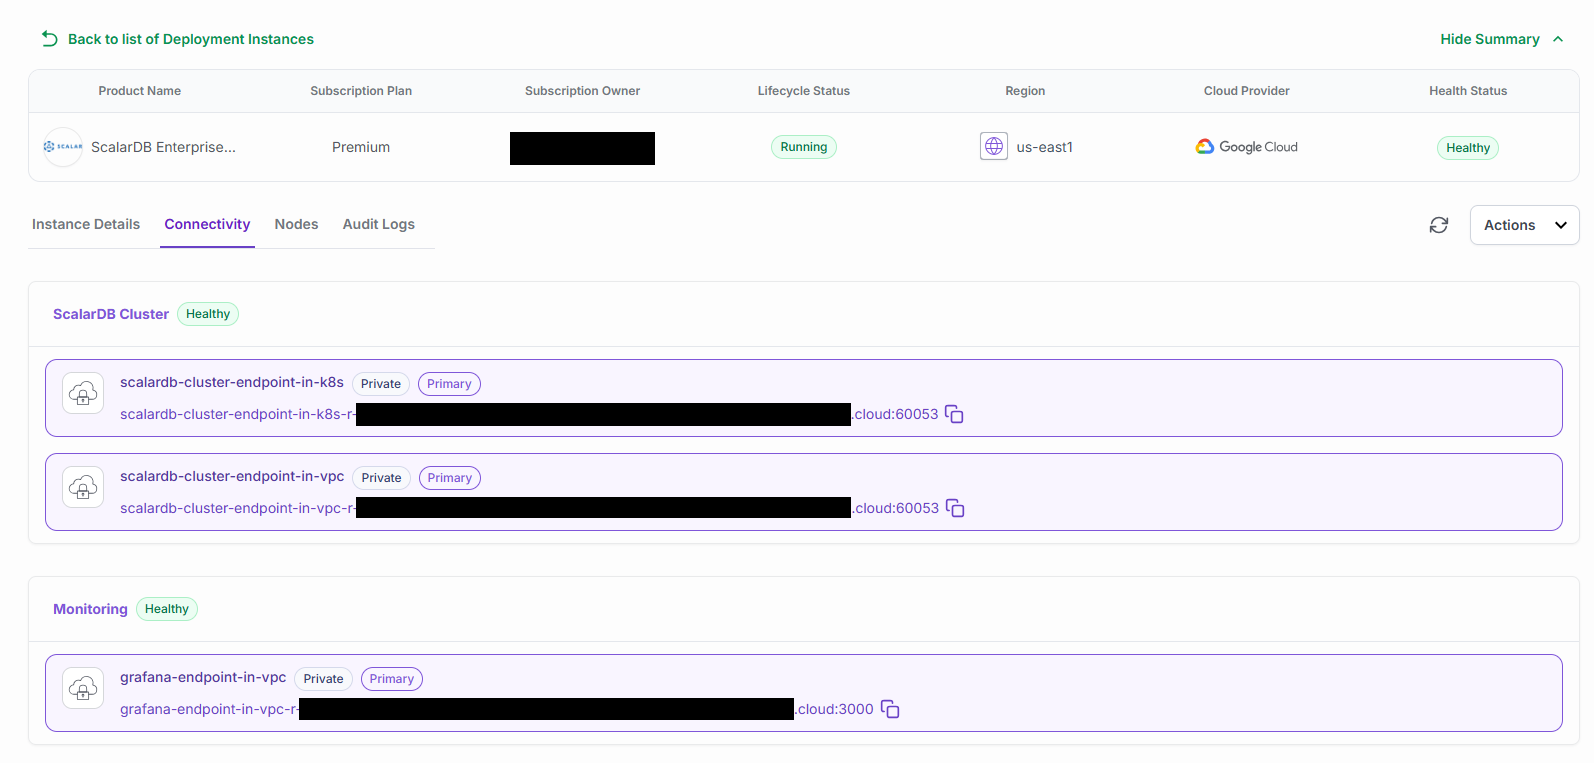
After your instance has been launched, your deployed instance will be displayed with Lifecycle Status as Running.
 note
noteDeploying a new instance will take time. In particular, if this is the first time that your ScalarDB Cluster instance is deployed to the region that you selected, a GKE cluster will be created first, which will take a significant amount of time.
-
To see the endpoint information to access the ScalarDB Cluster endpoint and the Grafana dashboard, select an instance under Instance ID and go to the Connectivity tab.